Traccar is a free and open source modern GPS tracking system
Traccar เป็น GPS Tracking Platform หมายความว่า มีระบบและบริการที่สนับสนุนเช่น Server Client และระบบจัดการ (Manager) เสร็จสรรพ
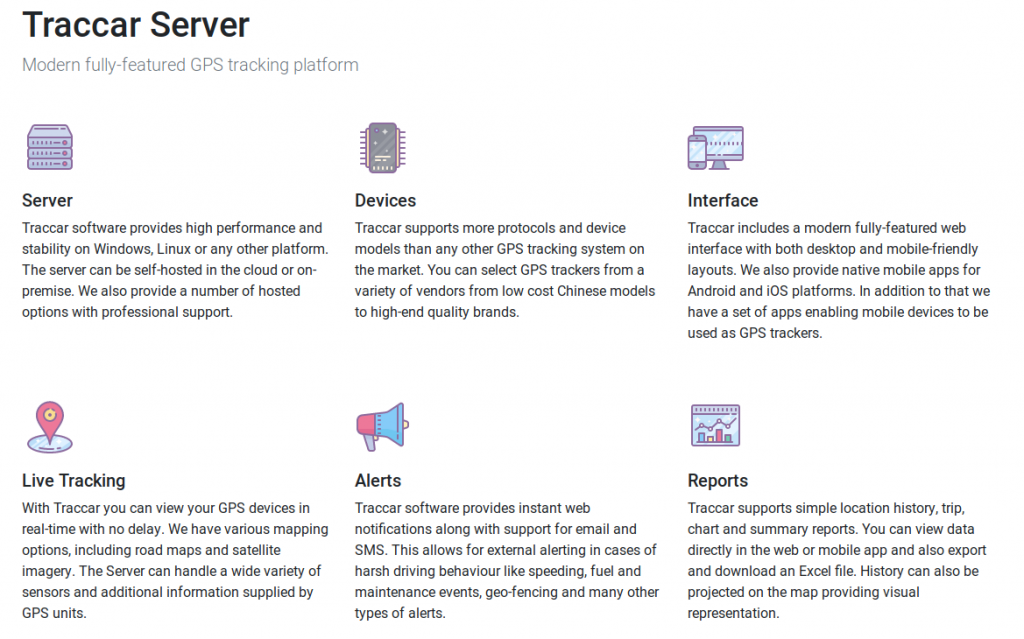
โดยตัว Server เองก็รองรับทั้ง Windows Linux และ Arm ตอนนี้เป็นเวอร์ชั่น 4.2 ส่วน Client ก็มีทั้ง Android iOS ส่วนอุปกรณ์ GPS อื่นที่รองรับก็เข้าไปดูที่นี่เลย
ส่วน GPS Tracking คือการระบุตำแหน่งของวัตถุผ่านระบบระบุตำแหน่งบนพื้นโลก (Global Positioning System: GPS) ซึ่งใช้เพื่อติดตามและระบุตำแหน่งของวัตถุนั้นๆจากระยะไกล โดยเทคโนโลยี GPS tracking นี้สามารระบุได้ครอบคลุมถึงพิกัดภูมิศาสตร์ ละติจูด, ลองจิจูด, ความเร็วบนภาคพื้น ทิศทางและเส้นทางการเคลื่อนที่ของวัตถุนั้นๆ ที่เราติดตามอยู่ได้
เพราะฉะนั้นระบบนี้ก็ถูกนำมาใช้ในงานหลาย ๆ งาน ที่เราเห็นกันบ่อย ๆ คือระบบติดตามตำแหน่งรถยนต์หรือยานพาหนะนั่นแหล่ะ ไม่ว่าจะเป็นรถขนส่ง รถฉุกเฉินในระบบสาธารณสุข
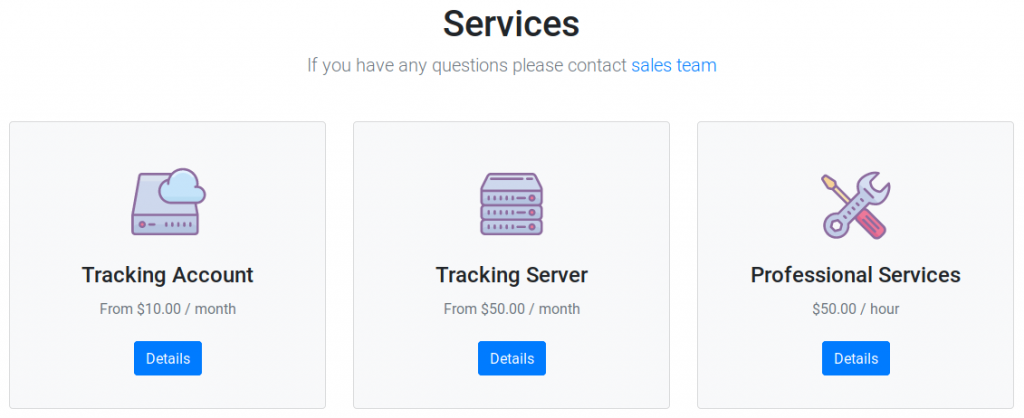
ซึ่ง Traccar เองก็มีทั้งเสียเงินและฟรีราคาให้บริการก็ตามนี้แต่ที่เราสนใจคือตัวที่เป็น Opensource
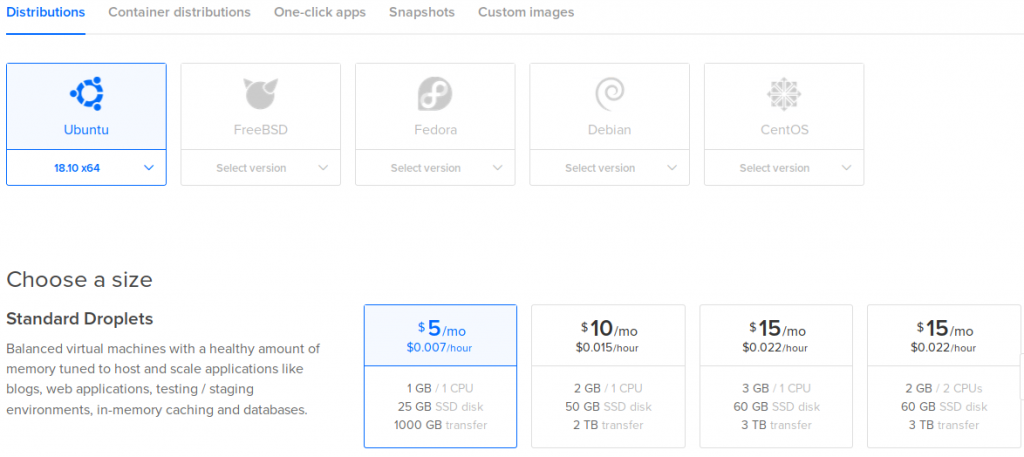
เริ่มกันด้วยการติดตั้งตัว Server โดยความเป็นจริงละ คนที่จะใช้งานจำเป็นต้องมี Server ที่ให้บริการจริง ๆ ในระบบอินเตอร์เนตเพื่อให้อุปกรณ์ GPS ติดต่อได้ อาจเป็นเครื่องจริง ๆ วางไว้ที่ IDC สักที่หรือถ้าไม่ลงทุนเครื่อง Server จริง ๆ จะเป็น VPS (Virtual Private Server) ก็ได้ ในท้องตลาดก็มีทั้งของไทยและต่างประเทศที่ดัง ๆ หน่อยก็เป็น Amazon Digital Ocean ในบล๊อกนี้เราใช้ DigitalOcean ตัวเล็กสุด 1 CPU SSD 25GB ค่าบริการ 5$/month สร้างตัว Droplet ขึ้นมา รายละเอียดเรื่อง VPS อ่านได้ที่นี่ครบละสำหรับคนเริ่มต้น ส่วนใครจะสมัครตอนนี้ไปนี่เลย
https://m.do.co/c/2f653359b82c
**ตอนนี้สมัครตาม Referral ก็จะได้เครดิตไว้ใช้งาน 100$
หลังจากที่สร้าง Droplet เสร็จแล้ว (ในที่นี้ใช้ Ubuntu 18.10) ก็ติดตั้ง Docker กันต่อเลย (Traccar มี Docker Image ให้ด้วย ^__^)
curl -fsSL https://download.docker.com/linux/ubuntu/gpg | sudo apt-key add -
แล้วก็เพิ่ม Docker repository เข้าไป (ตอนนี้ Docker สำหรับ Ubuntu 18.10 ยังไม่มีรุ่น Stable ออกมานะ ต้องใช้ รุ่น test ไปพลาง ๆ )
sudo add-apt-repository "deb [arch=amd64] https://download.docker.com/linux/ubuntu $(lsb_release -cs) test"
เสร็จแล้วก็ทำการ Update และติดตั้ง Docker ต่อได้เลย
sudo apt-get update
sudo apt-get install -y docker-ce
ถ้าไม่มีอะไรผิดพลาดตัว Docker ต้องทำงานละ
sudo systemctl status docker
ที่นี้ก็เริ่มติดตั้ง Traccar Server กัน ให้ทำการสร้าง Directory ขึ้นมา 2 Directory คือ
- logs สำหรับเก็บล็อกใช้งาน
- conf สำหรับเก็บไฟล์ Config
mkdir -p {conf,logs}
ต่อมาก็สร้างไฟล์ Config ในที่นี้ใช้ไฟล์ Default จาก Traccar เลย
docker run \
--rm \
--entrypoint cat \
traccar/traccar \
/opt/traccar/conf/traccar.xml > conf/traccar.xml
โดยค่ามาตรฐานของ Traccar จะใช้ฐานข้อมูลของ hbase ถ้าเราอยากเปลี่ยนเป็น MySQL หรือตัวอื่น ก็แก้ไขตามรายละเอียดนี้ ไฟล์ Config จะหน้าตาประมาณนี้
<?xml version='1.0' encoding='UTF-8'?>

<!DOCTYPE properties SYSTEM 'http://java.sun.com/dtd/properties.dtd'>

<properties>

    <entry key='config.default'>./conf/default.xml</entry>

    <!--

    This is the main configuration file. All your configuration parameters should be placed in this file.

    Default configuration parameters are located in the "default.xml" file. You should not modify it to avoid issues
    with upgrading to a new version. Parameters in the main config file override values in the default file. Do not
    remove "config.default" parameter from this file unless you know what you are doing.

    For list of available parameters see following page: https://www.traccar.org/configuration-file/

    -->

    <entry key='database.driver'>org.h2.Driver</entry>
    <entry key='database.url'>jdbc:h2:./data/database</entry>
    <entry key='database.user'>sa</entry>
    <entry key='database.password'></entry>

</properties>
เสร็จก็เริ่ม Run Server
docker run \
-d --restart always \
--name traccar \
--hostname traccar \
-p 8082:8082 \
-p 5000-5150:5000-5150 \
-p 5000-5150:5000-5150/udp \
-v /root/logs:/opt/traccar/logs:rw \
-v /root/conf/traccar.xml:/opt/traccar/conf/traccar.xml:ro \
traccar/traccar
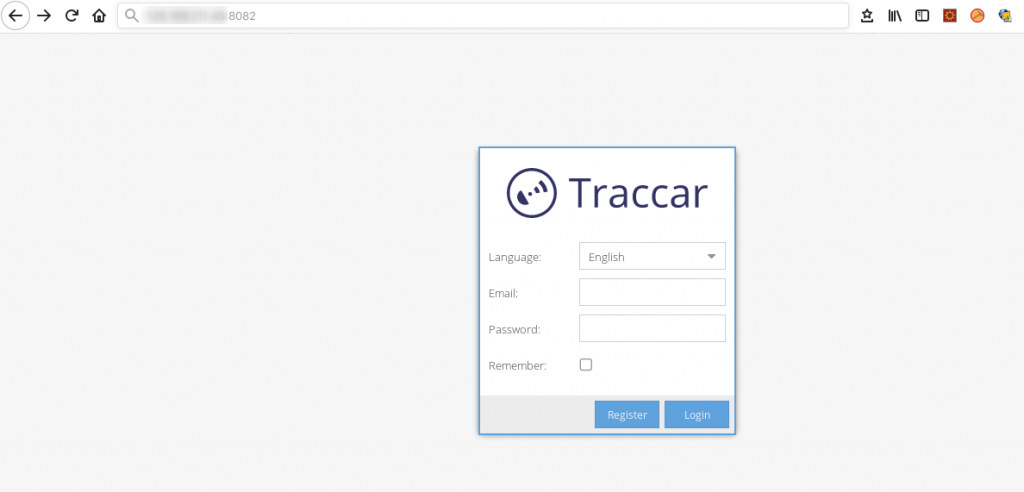
จะได้หน้าตา Web Management สำหรับจัดการ Traccar โดยเข้าไปที่ http://<IP Address>:8082
** IP Address จะได้มาจาก VPS ที่เราสร้างขี้น
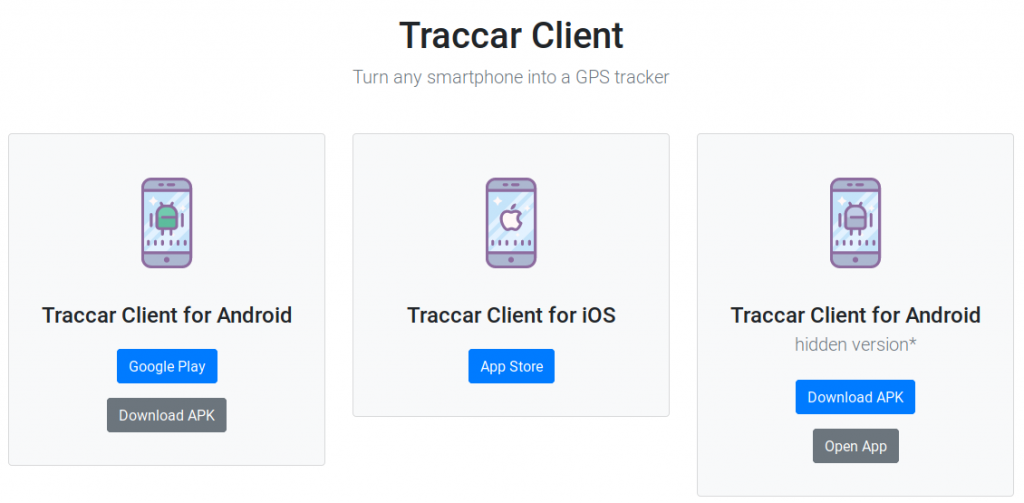
ต่อไปก็ทำการติดตั้ง Client ตอนนี้มีทั้งที่เป็น Android และ iOS รวมทั้งอุปกรณ์ GPS ตัวอื่น ๆ เช็คอุปกรณ์ที่รองรับได้ที่นี่
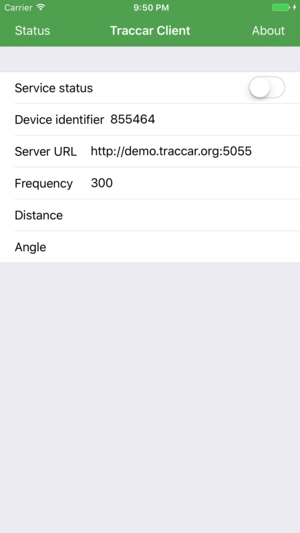
การใช้งานก็กำหนด IP Address ของเราตรง Server URL ตามฟอร์แมทตัวอย่างได้เลย
จบเรื่องการติดตั้งทั้ง Server และ Client ^_^
ป.ล.
